


Mastering Natural Light: Photography Tips for Stunning Outdoor Shots
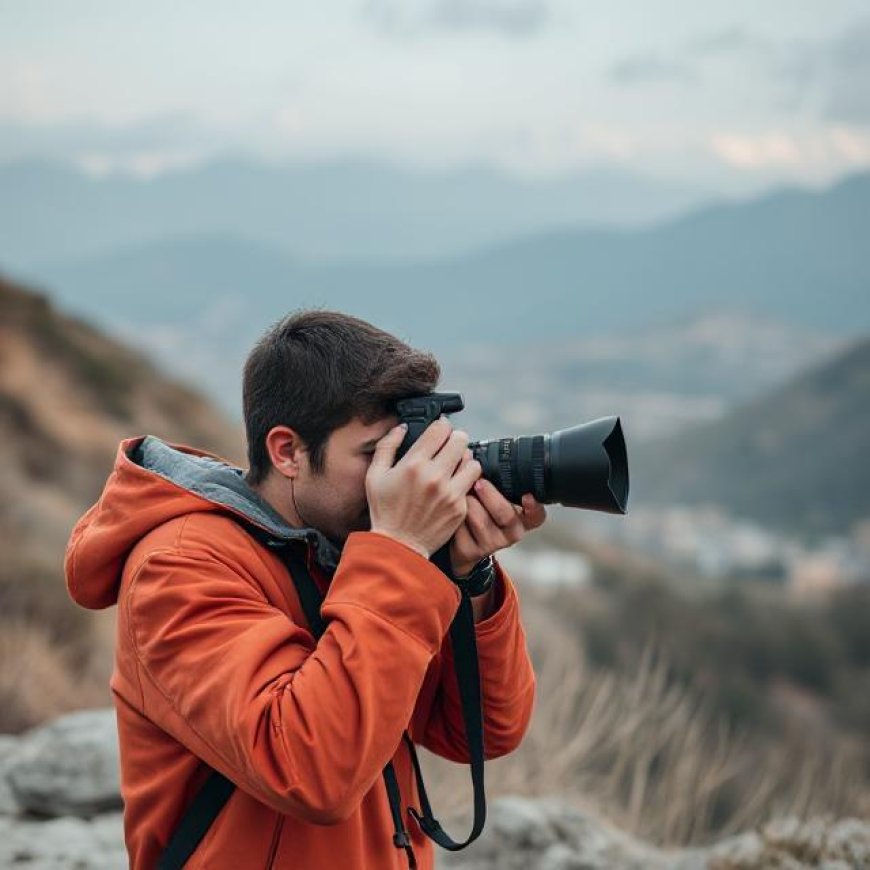
Photographers at all skill levels know one thing: natural light is one of the most important tools in outdoor photography. It shapes your image, creates mood, and helps define your subject. You dont need high-end gear to improve your photos learning how to use the sun, clouds, and shadows effectively is often more valuable. Even if your daily interests lean more toward e-liquid brands than camera brands, this guide will give you a straightforward path to using natural light with purpose and consistency.
This article breaks down the most practical ways to work with natural light during your outdoor shoots. Whether you use a DSLR, mirrorless, or smartphone camera, these techniques apply across the board.
Understanding the Role of Natural Light
Natural light changes throughout the day. Its intensity, direction, and color temperature vary and each shift can change how your subject looks in your frame. Learning to read and respond to these changes will help you take control of your images rather than just reacting to your environment.
Key Times of Day to Shoot
Knowing when to shoot is one of the most valuable decisions you can make.
-
Golden Hour
This is the first hour after sunrise and the last hour before sunset. The light is soft and diffused. It minimizes harsh shadows and works well for portraits and landscapes.
-
Midday
The sun is high and bright. Shadows are strong and contrast is high. Use shade, reflectors, or diffusers to manage this intensity.
-
Blue Hour
Happens just before sunrise and just after sunset. The light is cool and dim. Its great for capturing mood, cityscapes, or long-exposure shots.
-
Overcast Conditions
Cloud cover acts as a giant softbox. Shadows disappear and the light becomes even. This is a solid time for portrait work.
How to Position Yourself and Your Subject
The direction of the light in relation to your subject makes a big difference. Being aware of where the sun is can help you plan better angles and adjust exposure.
Types of Light Direction
-
Front Lighting
The light hits your subject head-on. This setup is clear and evenly lit, but it may lack depth.
-
Side Lighting
The light comes from the left or right of the subject. It brings out texture and dimension, useful for detailed shots.
-
Backlighting
The sun is behind your subject. This can lead to silhouettes or glow effects. Youll often need to adjust exposure or use a fill light to balance it.
-
Top Lighting
Common during midday. The light falls from directly above, which can create dark shadows under eyes and chins. Use modifiers like a hat, hand, or reflector to soften this.
Camera Settings for Natural Light
Manual or semi-manual camera modes give you the control needed to adjust to lighting conditions. The three settings that matter most are ISO, aperture, and shutter speed commonly referred to as the exposure triangle.
ISO
-
Low ISO (100200)
Ideal for bright daylight. Helps you avoid grainy images.
-
High ISO (400800 and up)
Use in low-light situations like early morning or evening. Be cautious of noise.
Aperture (f-stop)
-
Wide aperture (f/2.8 f/5.6)
Blurs the background, great for isolating a subject in portraits.
-
Narrow aperture (f/8 f/16)
Keeps more of the scene in focus, good for landscapes.
Shutter Speed
-
Fast shutter (1/500s or more)
Freezes motion. Best for action or bright environments.
-
Slow shutter (1/30s or lower)
Used in low-light scenes or for intentional motion blur. A tripod helps reduce camera shake.
Use your cameras histogram or exposure meter to check for proper exposure while shooting. Dont rely solely on the screen.
Practical Shooting Tips in Real-World Outdoor Settings
No two locations are exactly alike, but these tips will help you adapt in common outdoor scenarios.
Shooting on Bright Sunny Days
-
Find shade if possible. It reduces harsh contrast on faces.
-
Use a reflector to bounce light back onto the subjects face.
-
Keep the sun to your side or behind you for even lighting.
Shooting in Overcast Weather
-
Overcast light is soft and flat good for reducing shadows.
-
Adjust white balance for cooler tones.
-
Increase ISO slightly to compensate for the lack of brightness.
Backlit Subjects
-
Expose for the subject, not the background. This may blow out the sky but keep your subject clear.
-
Use a lens hood to avoid sun flare, or lean into flare for creative effect.
-
Consider using fill flash or a reflector if the face is too dark.
Sunset and Sunrise
-
Colors are rich but light levels are lower. Stabilize your camera with a tripod if possible.
-
Bracket exposures to capture highlights and shadows.
-
Watch for fast changes in lighting. These moments dont last long.
Composition and Light: Working Together
Light guides the eye. Use it intentionally when framing your image.
-
Leading Lines: Use natural shadows or light paths to guide viewers to your subject.
-
Silhouettes: When shooting into the sun, place your subject against a bright background.
-
Textures and Shapes: Side lighting can enhance rough surfaces like rocks, trees, or walls.
Move around your subject. Sometimes just a step left or right changes the look of the image completely.
Wrapping Up
Natural light is one of the most reliable and accessible tools a photographer has. Unlike studio gear, you dont have to pack it or charge it. But it requires attention and practice to master. Start by observing how the light behaves at different times of the day, and how it interacts with your subject. Then, adjust your position and settings accordingly.
Whether youre out in the city, at the park, or on a hike, pay attention to where the shadows fall and how colors shift. Thats what makes the difference between a quick snapshot and a photo with real impact.
And who knows maybe the next time you're out trying to capture golden hour shots, your subject might be holding a product tied to top vape flavors. These unexpected elements can actually add realism and context to lifestyle photography. The key is to be prepared and make the most of the light thats available.